Do you ever just stare at your baby and think they’re the cutest? Don’t you just want to savour every picture-perfect moment? There are endless endearing ways to be camera-ready with your little ball of sunshine. Accessorising and dressing them up are sweet ways to keep things fresh. But as your baby’s head is so adorably tiny right now, regular head accessories may not fit very well! No worries, though! We’re here to help you.
While there are gorgeous, handmade baby headbands out there perfect for your darling, it’s fun to make your own too. Here are three easy tips to start:
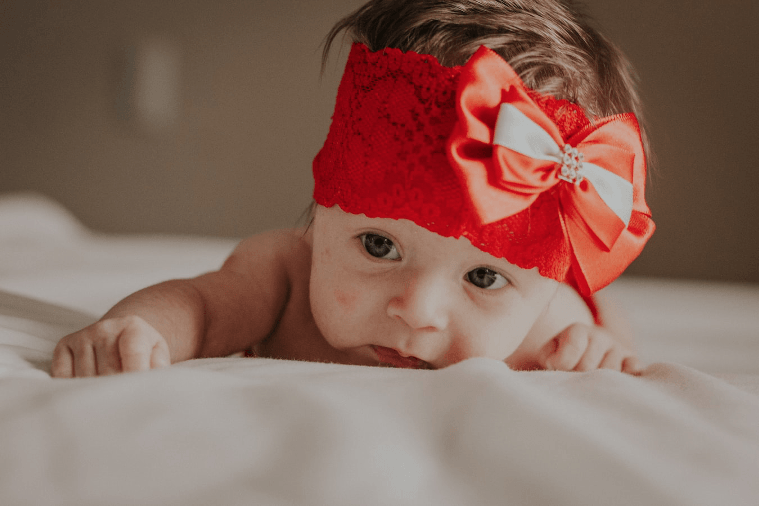
Look for innovative designs
Take time to conceptualise and figure out how you want to do this. Are you interested in sewing, knitting, or just sticking things together? How would you want your headband wrap to look: dramatic, elegant, or silly? You can also go extra specific. How about a vibrant sunshine bow-tie, floral blue rose pattern, or English garden inspired? Are there any celebrity babies or cartoon characters who caught your attention? When you’re scrolling through your social media feed or reading baby blogs, save interesting inspo on your phone. Planning the old-fashioned way is good too. Write in a journal while sipping coffee or tea. Relax and make this whole project enjoyable all throughout.
Be resourceful
Now that you’ve decided what you want to accomplish, look around at home. Do you have a fabric good for use? Perhaps from an old scarf or from a cute dress you’ve outgrown? Consider if this is soft or stretchable enough for your preference. From your sewing kit, are there any ribbons, sequins, or clips that look promising to you? Be as resourceful as you want, but you can also indulge yourself to shop a little bit. After all, your angel deserves only the best, right?
Measure everything
Carefully measure your baby’s head circumference. Note your desired length, width, and thickness. Provide room to manoeuvre too, especially if you want to loop a bigger bow. If this is your first time to make a DIY headband wrap, it's reasonable to cut 1-3 sufficient pieces of your fabric for trial and error. This way, if it gets too wrinkly or short due to excessive trims, you’ll have a chance for do-overs. In the end, make sure bows are tied evenly, decorations are sewn or glued on securely, and the inner part is free from itching, and the like.
And there you go! These tips should remind you to consider both style and comfort in designing a baby headband wrap. Your angel is such a lucky mini fashion icon, indeed. For more lovely finds for babies and mamas, you can check out our collection.
Leave a comment